VR CHAT USING OCULUS QUEST AND QUEST 2
A ‘How to’ Guide covering everything you need to know about VRChat on Quest and Quest 2
In this guide we’ll explore:
1
What is VRChat for Quest?
2
How to Play VRChat on Quest
3
And so much more….
Let’s dive right on in shall we?


What is VRChat for Quest?
You’ve likely heard about VRChat. After all, it’s a popular title for both the Quest and Quest 2. Yet, for the uninitiated, the name can be a bit deceiving. See, its SO MUCH more than a ‘chat app’.
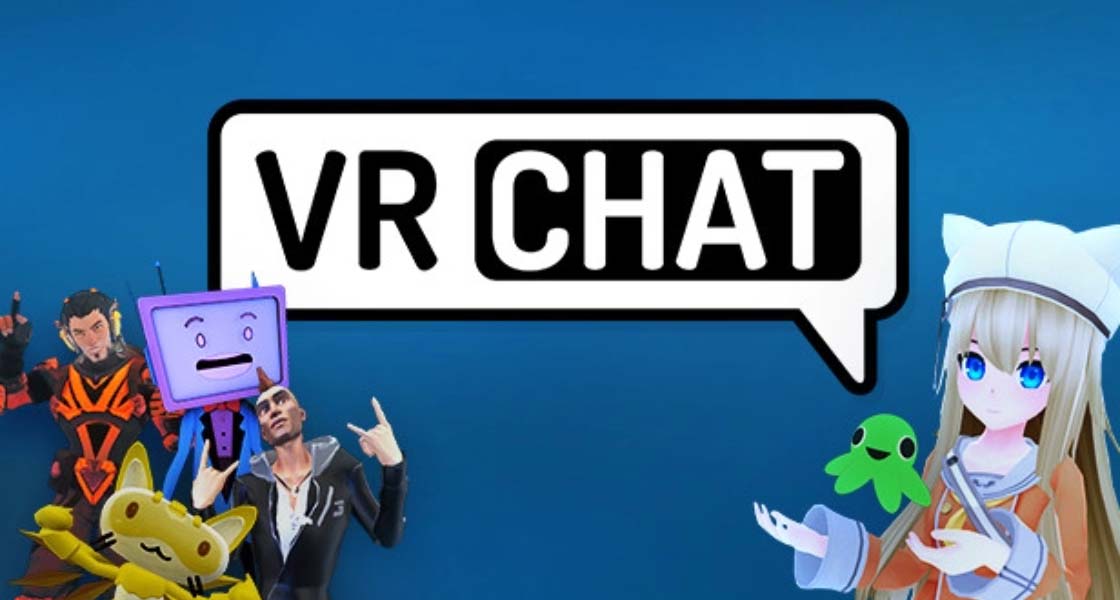
In fact, VRChat is a large-scale multiplayer VR game centered around real-world social interactions in the VR space. Best of all, it's FREE!!!
Although made for VR headsets, this game can also be enjoyed on a PC without the need for any VR gear (although you’ll miss out on the fun of the virtual reality aspect of the game).

Wait,
Wasn’t VRChat a PC Game???
For those that remember this far back, VRChat was originally developed for the PC, far before it became a household name for the VR community. The game, as did the technology, evolved since its earlier release, introducing gamers to new worlds and avatars in VR.
While those avatars and worlds originally developed for the PC can be taxing on even high-end devices (with virtually no limits), those developed for the Quest are engineered to work with relatively low specs and feature limited file sizes (along with other limitations we’ll cover later on).
Of note is that Quest gamers can only access those worlds and avatars designed specifically for the VR headsets, while PC users can access both Quest worlds and avatars as well as those made for PCs.
A workaround for Quest users hoping to gain access to the FULL library of worlds and avatars is to use the link mode with their Quest headset. By doing so they can connect the Quest to their VR-ready PC allowing them to play the PC version on the headset and gain access to all the game’s assets.

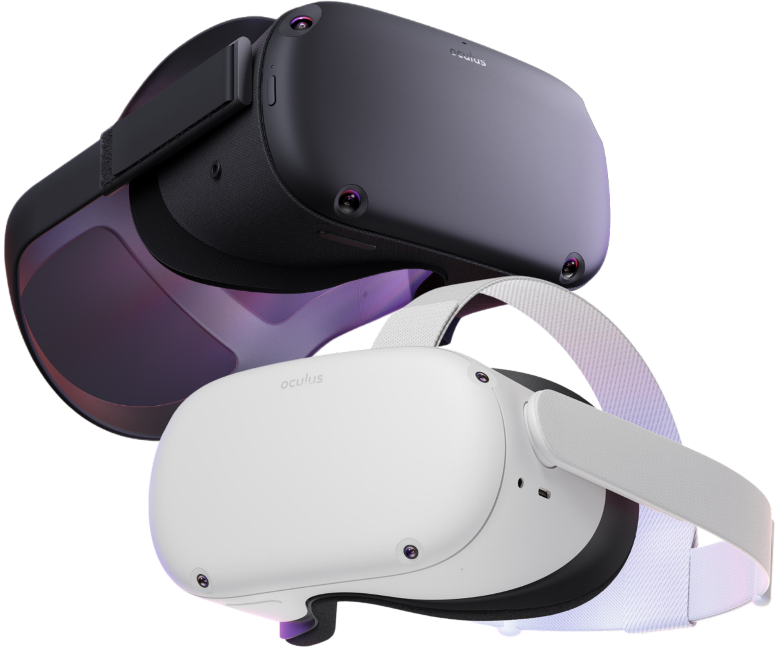
How to Play VRChat on Quest and Quest 2
If you’re familiar with how to play the game on the PC, then you’ll be pleasantly surprised to learn that the gameplay and controls are virtually the same on the Quest…with one minor (or major) detail; you can’t access PC-only worlds or use PC-only avatars on your headset without connecting it to a PC. That’s the bad news. The good news is that you can still engage and interact with PC users when playing on the Quest, giving you full access to the entire online community.
Never had the chance to play VRChat on the PC? No worries, we’ll take you through the basics of how to play, from exploring new worlds to choosing an avatar.
Getting Started with VRChat on Oculus and Oculus 2
1
Head on over to the Quest store and search for VRChat. Once you locate the game, download it, its FREE. Feeling lazy? We found the page link for you: www.oculus.com/experiences/quest/1856672347794301/
2
Once installed, launch the game
3
Next, you’ll be prompted to log in using your Oculus account (or you can create a dedicated VRChat account instead).
4
Choose your desired avatar to kick things off (this can be modified later)
5
Complete the initial setup process as directed on screen
6
Once in the ‘starting area’, if you’d like to check out other avatars, simply head on over to an avatar stand to swap out your current avatar for another
7
When choosing an avatar, you’ll need to find those that are ‘Quest compatible’. These can be easily identified by a green and blue icons. Green for Quest, and blue for the PC.
PRO TIP: Don’t see an avatar that interests you? No worries. Open the menu and search for a ‘world’. You can do this by typing in ‘avatar’ in the search box. Once you choose a world, enter it. While playing within this ‘world’ you’ll see all the other players also in that world. They’ll kinda look like floating robots. The floating robots are INCOMPATIBLE with the Quest (that’s why they show up as a robot). All other avatars are fair game. Simply find one that you like, and choose it to ‘swap’ yours for it.
8
Go exploring! Now that you have an avatar you’re happy with, open the menu again and search for a world you want to explore.
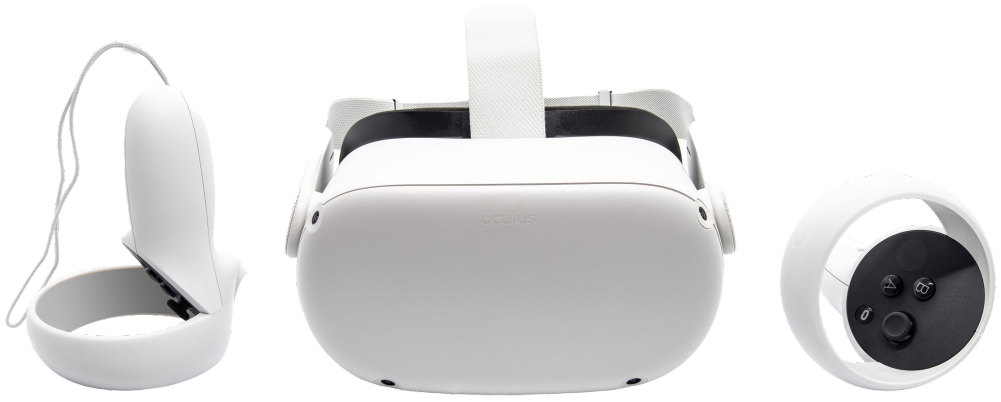
Controls Using the Quest Controllers
Its worth noting that the Quest controllers offer limited support for hand-tracking, so while you can perform a few gestures, it isn’t very robust. To do this, grip the controller, using your thumbs to manage the face buttons. This will cause your avatar to clench its fists. To open your hand, just relax your hand in real life so that you aren’t in contact with any buttons on the controller.
Other Gestures:
To point at something, simply grip the controller and then extend your index (pointer) finger.
To throw up the peace sign, grip the controller using your middle and index fingers.
For ‘finger guns’, lift your thumb off the face buttons and extend your index finger outward.
That’s all there is to it! You’re now ready to start interacting with other players/avatars.
PRO TIP: Someone annoying or bothering you? Simply ‘mute’ them. Similarly, you can also mute yourself if you’d rather no one hear what you’re saying.
Are There Any Limitations of
VRChat on the Quest and Quest 2?
VRChat is an absolute blast on the Quest, but we’d be remiss if we didn’t cover a couple of the limitations you’ll run into so you’re not surprised about it.
First up, you can’t visit any worlds that were developed for the PC, only those which are created specifically to work with the Quest or Quest 2.
Similarly, you will not be able to select an avatar that was made for the PC and not the quest. BUT, you can still interact with and see others who are playing on the PC, its just that their avatars will look like floating, legless robots lol. These users will boast a PC logo on their chest, but apart from that, they can be interacted with as you would with any other avatar/person in the game.
Some worlds are optimized for BOTH the PC and Quest. When visiting these worlds, you’ll be presented with the Quest-optimized version, which may appear slightly different to you than those playing on a PC. Generally, this presents as a less detailed model of the world with poorer textures, particle effects and more. In other words, it’s a more basic version (think Nintendo vs Nintendo 64).
Other Effects That are Impacted Include:
- Flatter shadows (or non-existent shadows)
- Less complex models of the landscape
- Poorer textures
- Less detail and sharpness
How Can You Play the
PC Version of VRChat on Oculus Quest?
Have you heard of the Quest Link? This cable enables you to connect your Oculus Quest to a VR-ready PC. By doing so you can run the PC version of VRChat locally on your PC, with your Quest acting as the visual display.
How to Play the PC Version of VRChat on Your Oculus Quest:
1
Download the Steam version of VRChat from: store.steampowered.com/app/438100/VRChat
2
Download and install SteamVR:store.steampowered.com/app/250820/SteamVR
3
Open the Oculus App on your PC
4
Use the link cable to connect your headset to the PC
5
Load up SteamVR
6
Launch VRChat
That’s all there is to it!
You’ll now be able to play the PC version on your headset, giving you full access to all of the PC worlds and avatars.
